

How to Use Tungsten Carbide Composite Rod

How to Use Tungsten Carbide Composite Rod

1. Keep the surface clean
The material to which the carbide composite rod is to be applied should be thoroughly cleaned and free from corrosion and other foreign matter. Sandblasting is the preferred method; grinding, wire brushing, or sanding are also satisfactory. Sandblasting the surface will cause difficulty in the tinning matrix.
2. The temperature of welding
Make sure the tool is positioned for down-hand brazing. When possible, secure the tool in a suitable jig fixture.
Try to keep the tip of your torch two to three inches off of the surface you are dressing. Slowly preheat to approximately 600°F (315°C) to 800°F (427°C), maintaining a minimum temperature of 600°F (315°C).

3. Five Steps of welding
(1) When the proper temperature is reached, sprinkle the surface to be dressed with brazing flux powder. You will see the flux bubble and boil if the surface of your workpiece is sufficiently heated. This flux will help to prevent the formation of oxides in the molten matrix during dressing. Use an oxy-acetylene torch. Tip selection will depend on situation- #8 or #9 for dressing large areas, #5, #6 or #7 for smaller areas or tight corners. Adjust to a low-pressure neutral flame with your gauges set at 15 on acetylene and 30 on oxygen.
(2) Continue to heat the surface to be dressed until the carbide composite rod ends are red and your brazing flux is fluid and clear.
(3) Staying 50 mm to 75 mm off of the surface, localize the heat in one area to a dull cherry red, 1600°F (871°C). Pick up your brazing rod and begin tinning the surface with about 1/32” to 1/16” thick cover. If the surface is heated properly, the filler rod will flow and spread to follow the heat. Improper heat will cause the molten metal to bead up. Continue to heat and then tin the surface to be dressed as fast as the molten filler matrix will bond.
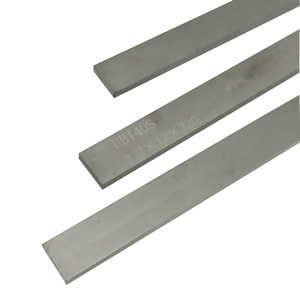
(4) Pick up your tungsten carbide composite rod and start to melt off a 1/2” to 1” section. This can be made easier by dipping the end into an open can of flux.
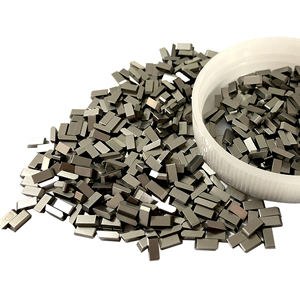
(5) After the area is covered by composite rod, use the tinning matrix to arrange the carbides with the sharpest edge up. Use a circular motion with the torch tip to keep from overheating the dressed area. Keep the concentration of carbide in the dressing as dense as possible.

4. Precaution for welder
Make sure the working area is well ventilated. Gas and fumes generated by flux or matrix are toxic and may produce nausea or other sicknesses. The welder must wear #5 or #7 dark lens, eyewear, earplugs, long sleeves, and gloves at all times during application.
5. Caution
Do not use excessive amounts of filler matrix rod- it will dilute the carbide matrix percentage.
Do not overheat the carbides. A green flash indicates too much heat on your carbides.
Any time your carbide pieces refuse to be tin, they must be flipped out of the puddle or removed with a brazing rod.
A. When your application requires that you build the pads over 1/2”, this may require a mild steel 1020-1045 shaped pad to be welded to your tool in the wear area.
B. After your area is dressed, cool the tool slowly. Never cool with water. Do not reheat the dressed area by performing any welding near it.

6. How to remove carbide composite Rod
To remove your dressed composite area after it has been dulled, heat the carbide area to a dull red color and use a metal-type brush to rake away the carbide grits and matrix from the surface. Do not try to move away from the carbide grits and matrix with your torch alone.